Maple Pecan Scones
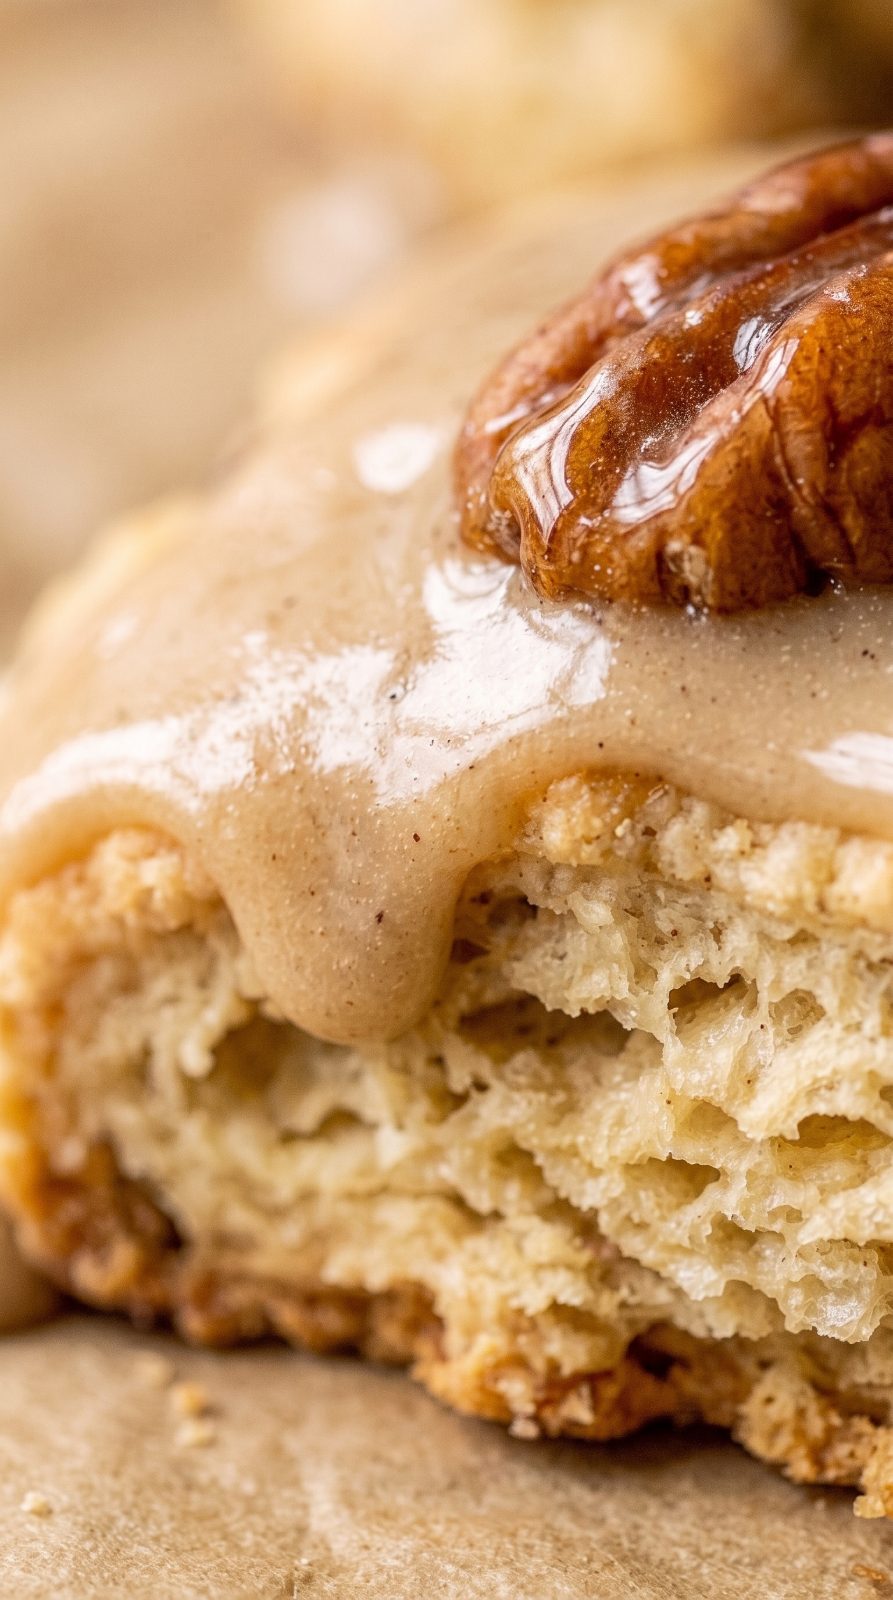
Tender, flaky cream scones studded with toasted pecans and drenched in a rich maple-brown-sugar glaze. Cozy, sweet and ridiculously easy — the fall bakery treat that makes your whole kitchen smell like a coffee shop.
By Hanan · Salt & Hearth
Published July 22, 2026 · Updated July 29, 2026
Full quantities, times and temperatures · How we make this site
Prep
20 min
Cook
20 min
Total
40 min
Serves
10
Be the first to rate this recipe
Tap a star to rate
There's a reason bakery scones seem to defy logic — crisp on the outside, tender and rich inside, never dry — and this maple pecan version nails that same magic right in your own oven. The cream-and-butter trick creates little pockets of fat that puff into flaky layers as they bake, while toasted pecans add crunch and that deep, roasted-nut flavor against the maple-brown-sugar glaze. This is the recipe to make on a chilly Saturday morning when you want your kitchen to smell like a coffee shop and you want something ready in under 45 minutes. Serve them warm with coffee and you'll understand why people wait in line for scones like this.
Why you'll love this recipe
- Bakery-style flaky layers with zero fuss
- Ready start to finish in under an hour
- Toasted pecans add real depth, not just crunch
- Warm maple glaze soaks in instead of just sitting on top
- No mixer or fancy equipment required
Ingredients
Scones
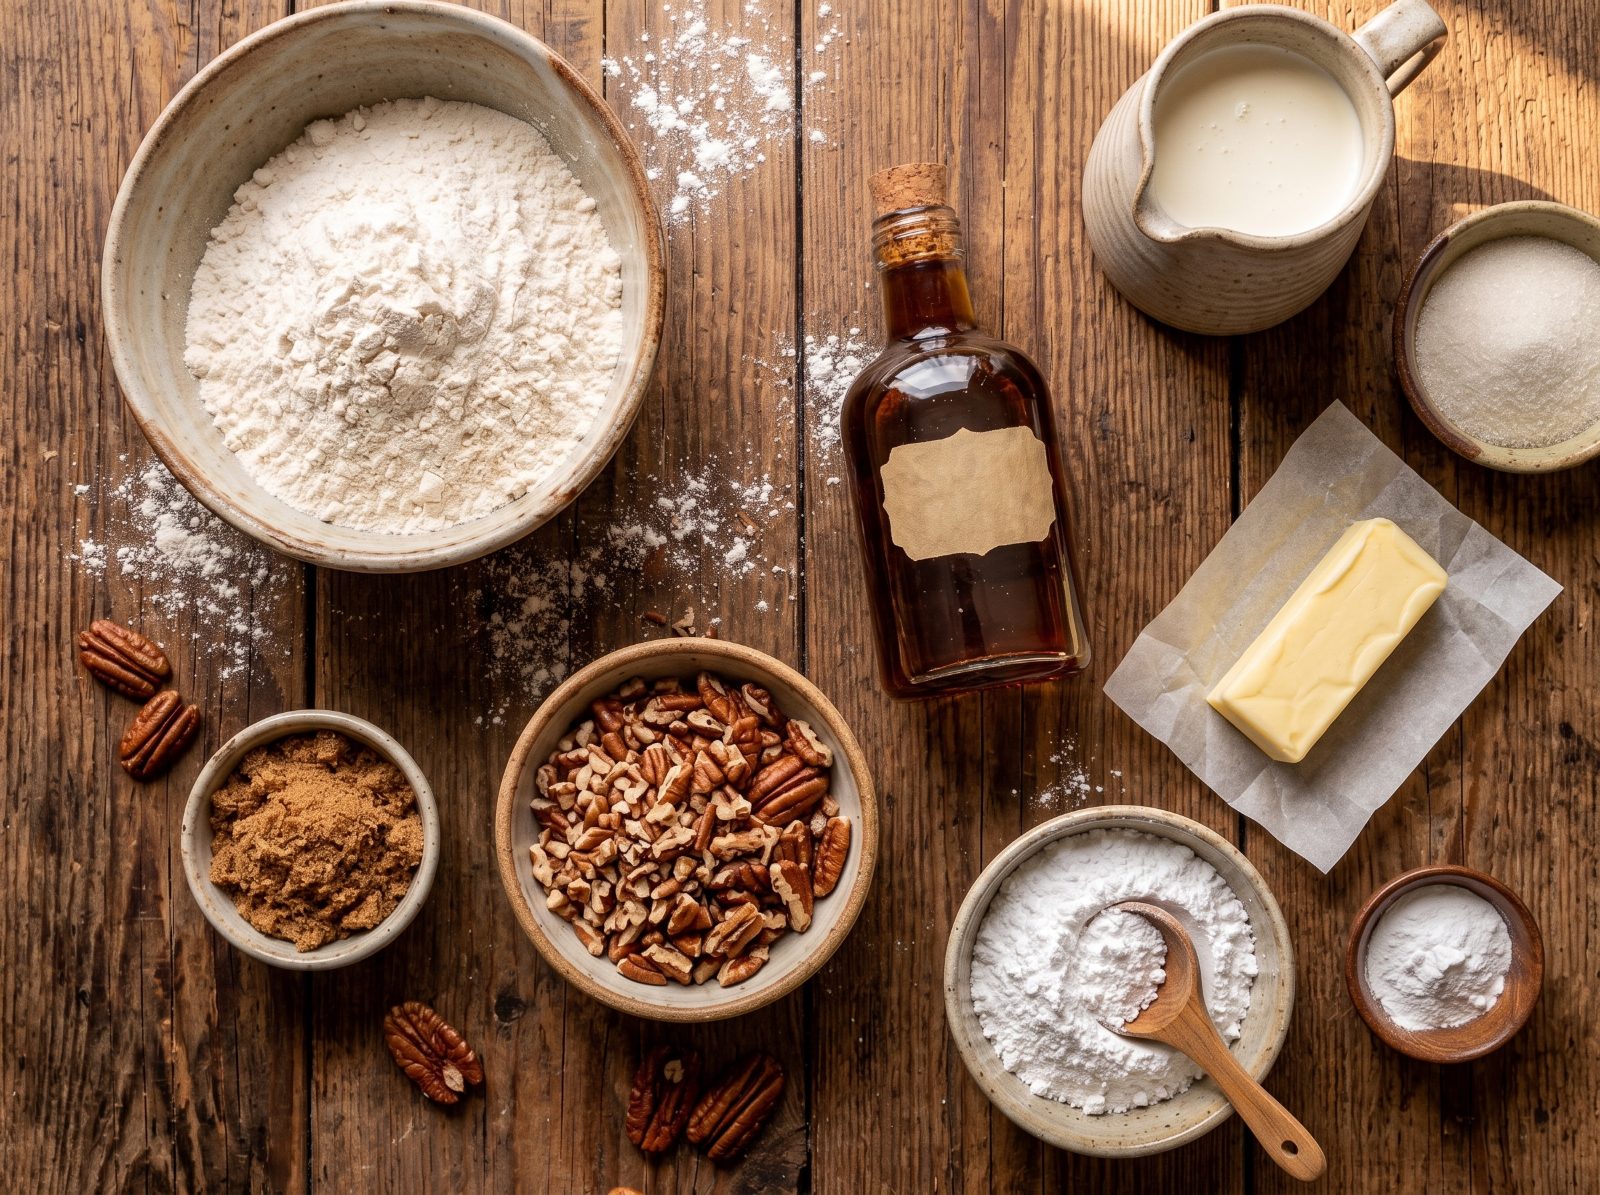
- 1 cup heavy cream, chilled, plus extra for brushing
- 4 tbsp butter, melted and slightly cooled
- 2 cups all-purpose flour
- 2 tbsp sugar
- 1 tbsp baking powder
- 1/2 tsp salt
- 1/2 cup chopped pecans
Maple glaze
- 1/2 cup maple syrup
- 2 tbsp cream
- 2 tbsp butter
- 2 tbsp brown sugar
- 1 cup confectioners' sugar
- Splash of vanilla extract
Ingredient notes & substitutions
- Heavy cream:
- Chill it in the freezer for 10 minutes before mixing — cold cream is what forms those little butter clumps that turn into flaky layers.
- Melted butter:
- Let it cool slightly after melting so it doesn't just dissolve into the cream; you want small clumps, not a smooth liquid.
- Pecans:
- Toast them in a dry skillet for 3-4 minutes until fragrant before chopping — it makes a noticeable difference in flavor.
- Maple syrup:
- Use real maple syrup, not pancake syrup, since it's the star flavor in the glaze and thins out mediocre with imitation stuff.
- Brown sugar:
- Either light or dark works in the glaze, though dark brown sugar will give a slightly more caramel-like richness.
- Confectioners' sugar:
- Whisk it in gradually off the heat so the glaze thickens smoothly without turning grainy or clumping.
Method
- 1
Preheat the oven to 400°F (200°C) and line a sheet pan with parchment.
- 2
Pour the heavy cream into a bowl and freeze for about 10 minutes to chill.
- 3
Melt the butter in 15-second bursts and let it cool slightly.
- 4
Whisk the flour, sugar, baking powder, salt and chopped pecans in a large bowl until combined with no lumps.
- 5
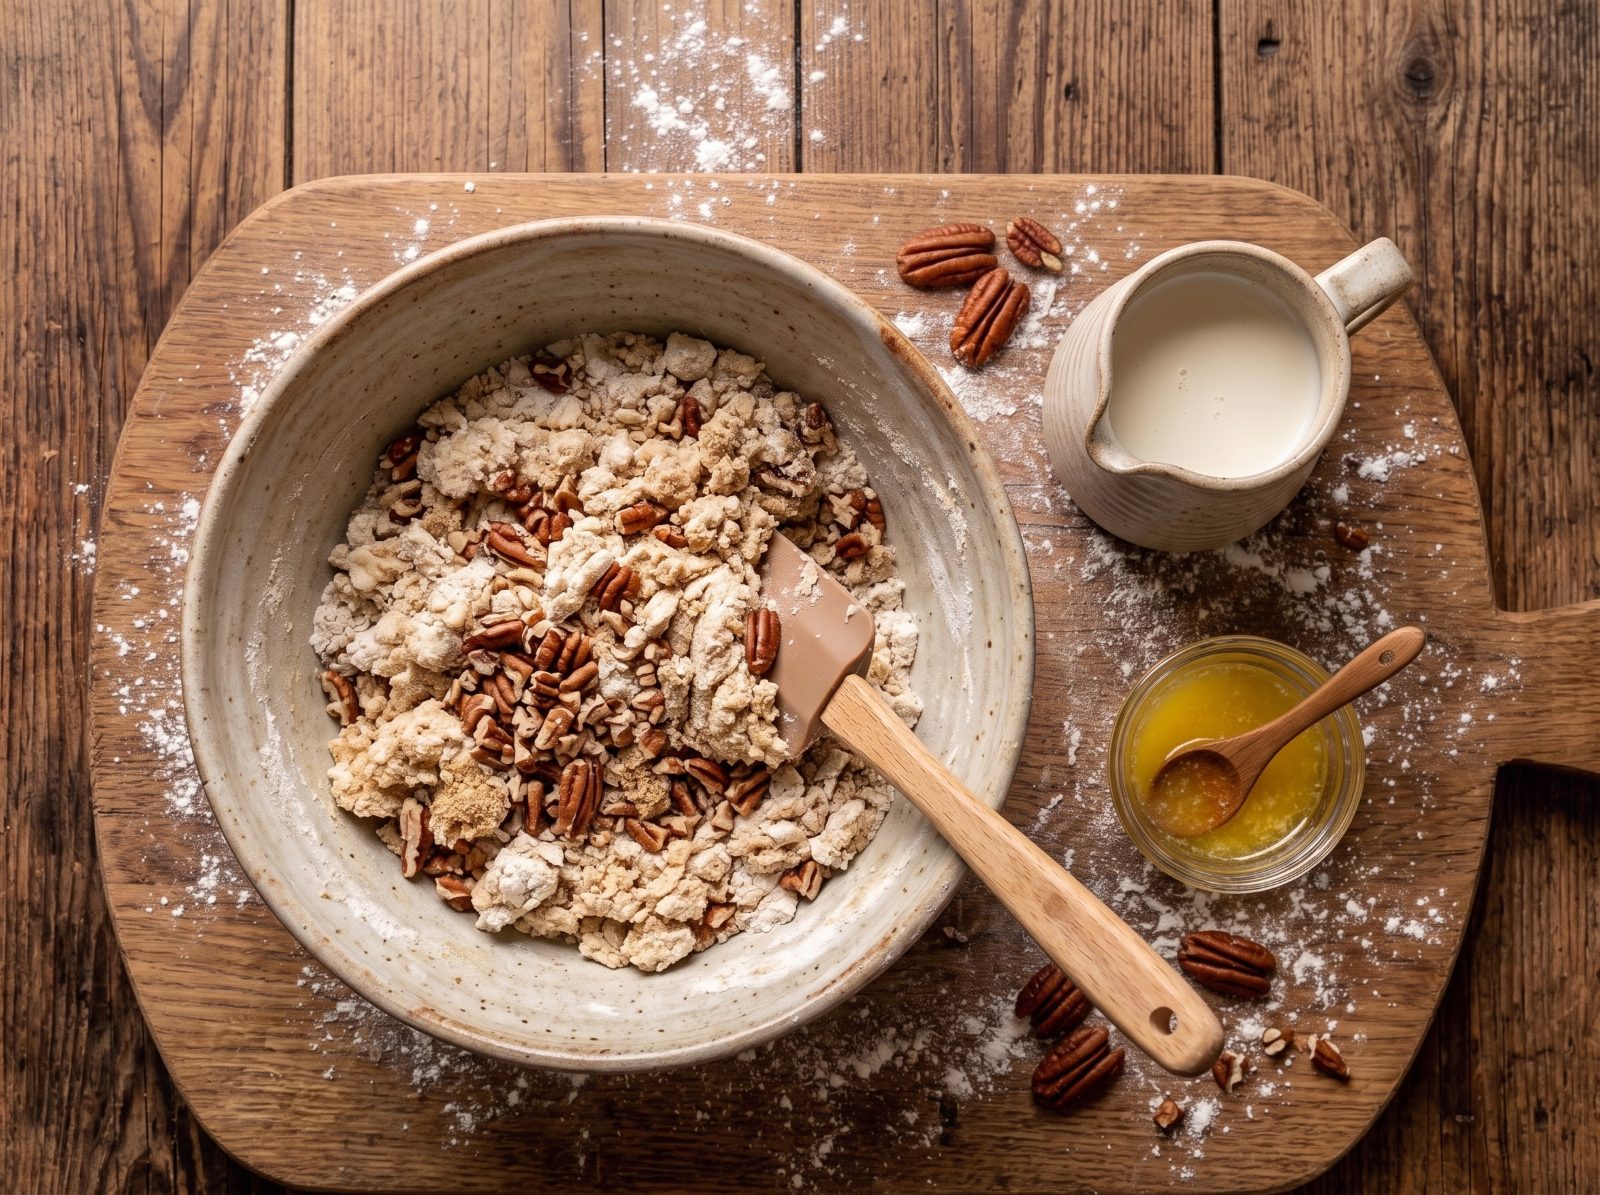
Stir the chilled cream into the slightly cooled melted butter until small clumps form, then gently stir into the dry ingredients until just combined — don't overmix.
- 6
Turn the dough onto a floured surface, knead a couple of times to bring it together, and pat into a 6-inch circle about 1 inch thick.
- 7
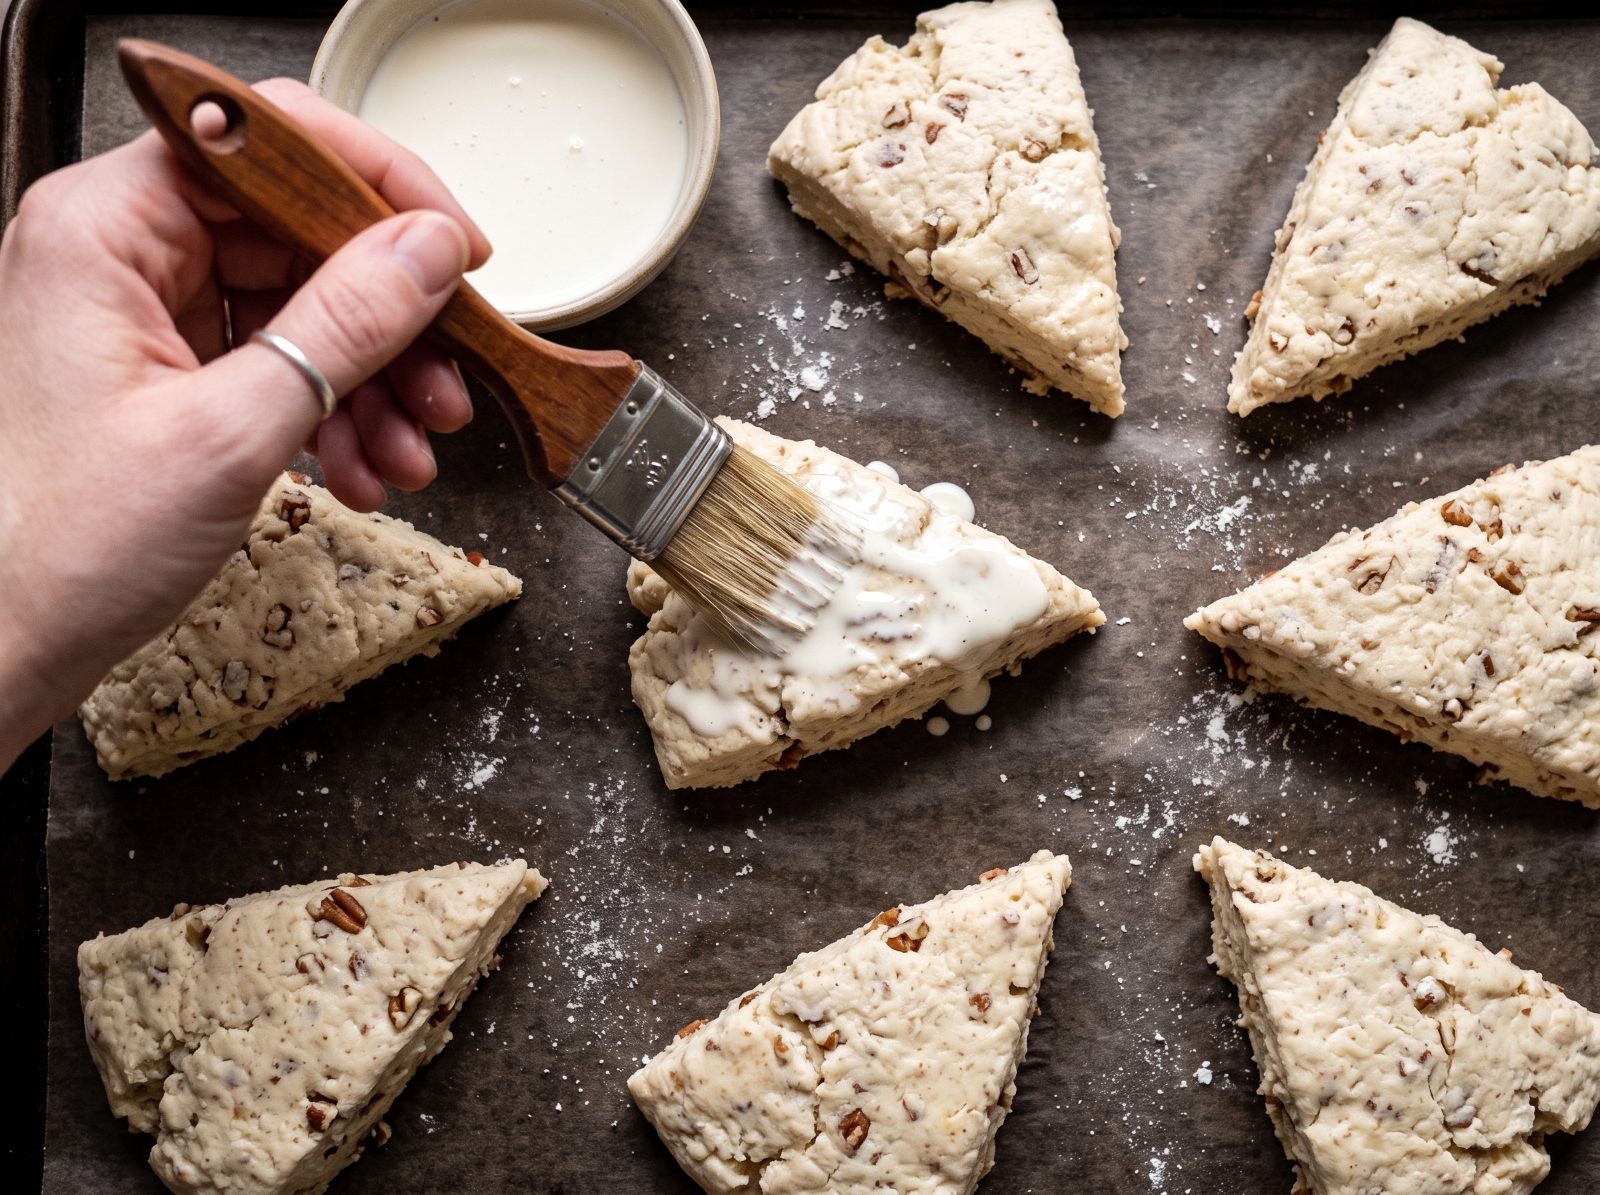
Cut into 8–10 wedges, transfer to the sheet pan with space between them, and brush the tops with extra cream.
- 8
Bake 15–20 minutes, until golden brown on top.
- 9
While they bake, microwave the maple syrup, cream, butter and brown sugar until bubbling (about 30 seconds), then whisk in the confectioners' sugar and vanilla until thickened.
- 10
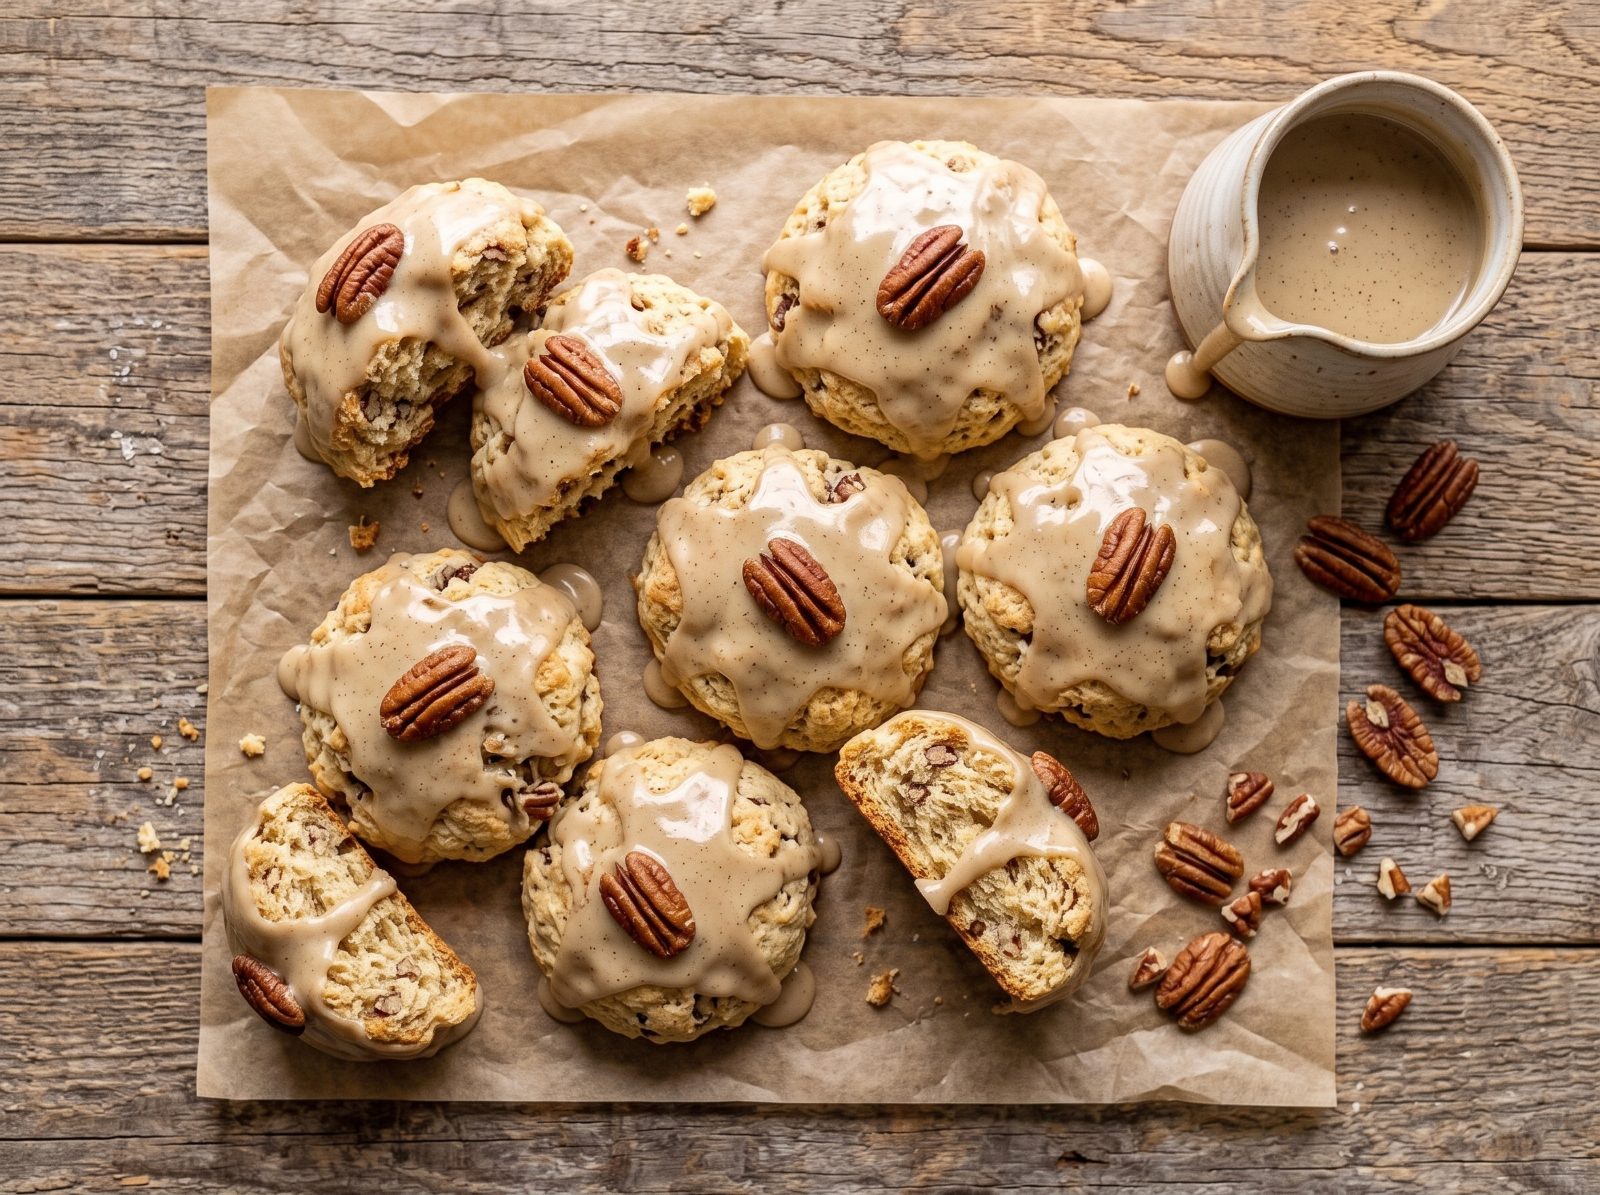
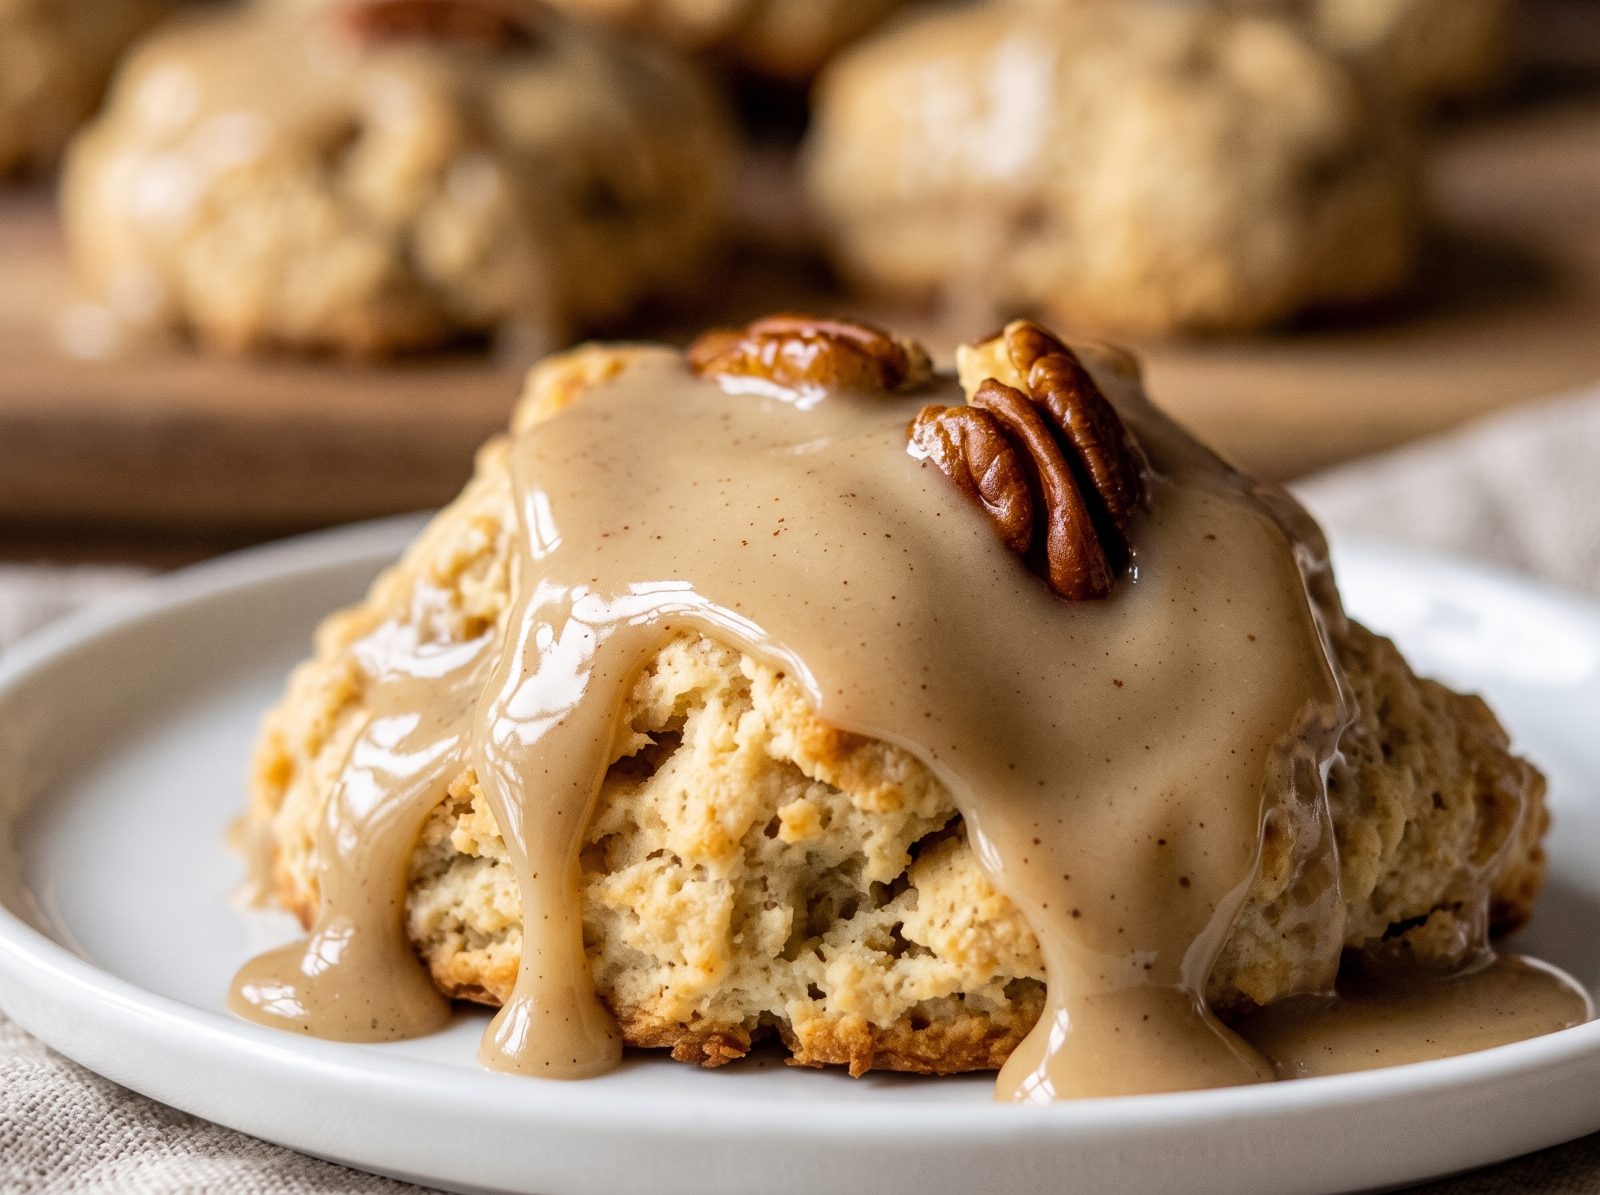
Drizzle the warm glaze generously over the warm scones and let set about 15 minutes before serving.
Tips
- Chilling the cream and using slightly cooled (not hot) butter is what makes the clumps that give flaky layers.
- Toast the pecans first for deeper, nuttier flavor.
- Glaze while the scones are warm, not hot, so it soaks in without sliding off.
Variations to try
- Swap pecans for toasted walnuts or pumpkin seeds if you're out of pecans or have a nut allergy in the house
- Add 1/2 teaspoon cinnamon and a pinch of nutmeg to the dry ingredients for a spiced fall version
- Stir 1/2 cup dried cranberries into the dough along with the pecans for a tart contrast to the sweet glaze
- Make them dairy-free by using full-fat coconut cream in place of heavy cream and a plant-based butter
Storage & make-ahead
Store cooled, glazed scones in an airtight container at room temperature for up to 2 days, or in the fridge for up to 4. To make ahead, bake and cool the scones unglazed, then store them airtight and make a fresh batch of glaze to warm and drizzle right before serving. For freezing, freeze unglazed baked scones in a zip-top bag for up to 2 months, then thaw and warm in a 300°F oven for 10 minutes before glazing.
Frequently asked questions
- Why didn't my scones turn out flaky?
- The most common culprit is warm cream or butter — both need to be cold-ish and clumpy when combined, not smooth, since those little fat pockets are what create flaky layers in the oven.
- Can I make the dough ahead of time?
- Yes — pat the dough into wedges, arrange them on the sheet pan, and refrigerate covered for up to a day, or freeze the cut wedges and bake straight from frozen with a few extra minutes in the oven.
- My glaze turned grainy or seized up — what happened?
- This usually means the syrup mixture cooled too much before you whisked in the confectioners' sugar; keep it warm and whisk continuously, and if it seizes, a teaspoon of warm cream will smooth it back out.
- Can I use milk instead of heavy cream?
- Heavy cream is doing double duty for richness and structure here, so milk will give you a drier, less tender scone — if you must substitute, use half-and-half rather than milk.
Get the recipes first
New comfort food recipes in your inbox — no spam, unsubscribe any time.