Cheddar & Chive Cheese Scones
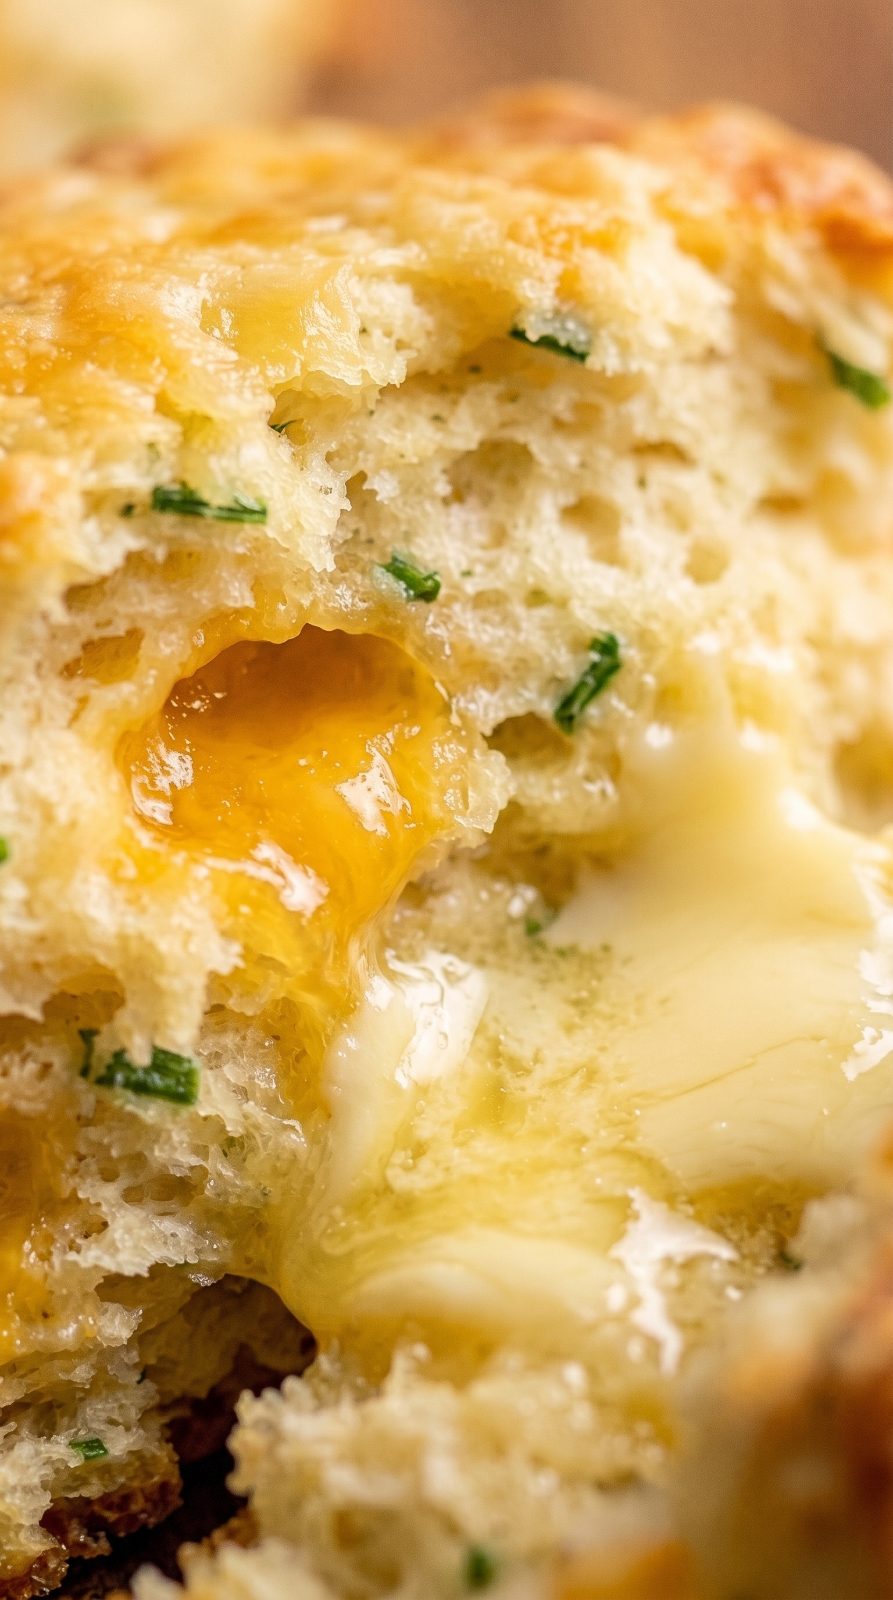
Light, fluffy savory scones loaded with sharp cheddar and fresh chives, with a golden cheesy crust. Warm from the oven, split and spread with butter, they're the perfect savory bake for brunch, soup night or afternoon tea — a cheesy twist on the classic British scone.
By Hanan · Salt & Hearth
Published July 23, 2026 · Updated July 29, 2026
Full quantities, times and temperatures · How we make this site
Prep
15 min
Cook
15 min
Total
30 min
Serves
8
Be the first to rate this recipe
Tap a star to rate
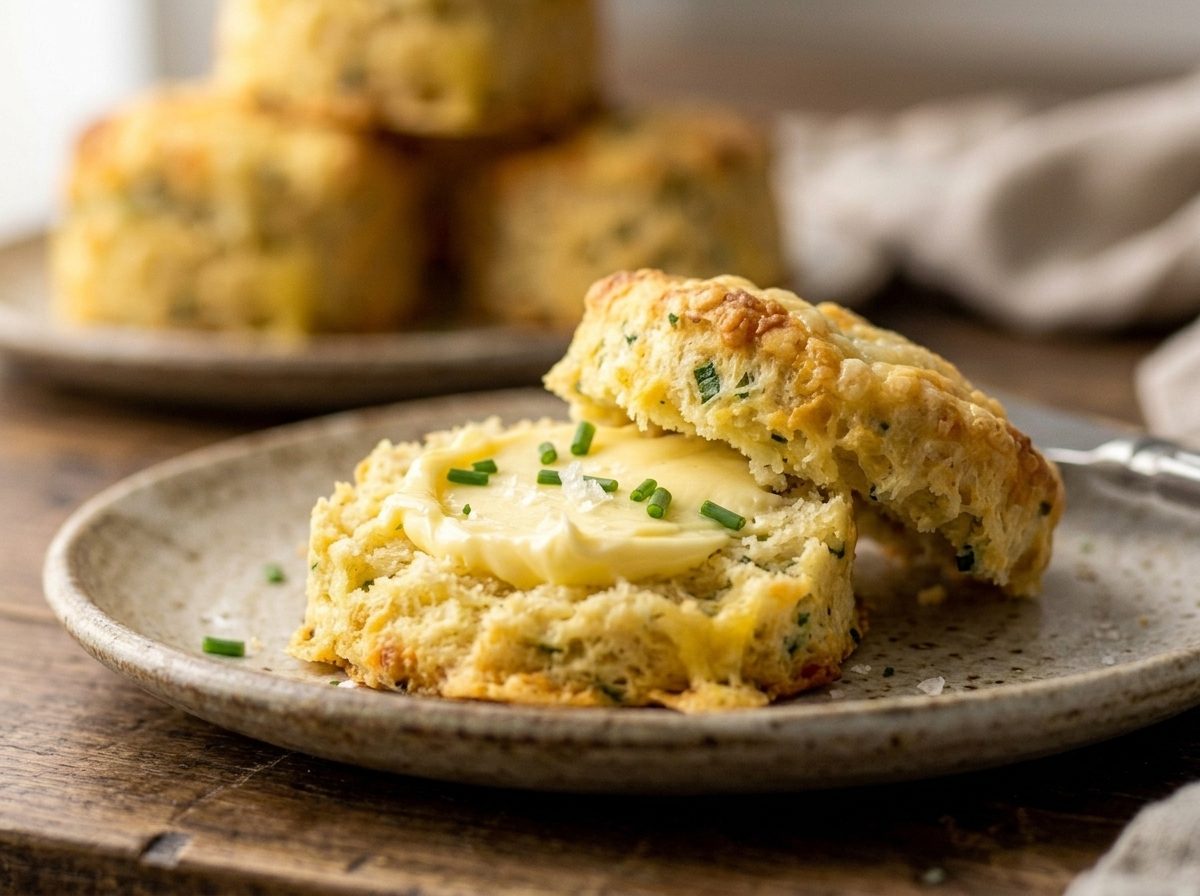
There's something about a warm cheese scone that just makes a kitchen feel like the right place to be — the sharp cheddar turns golden and almost lacy where it hits the baking sheet, and the chives keep every bite from tasting one-note. This is the fast, no-yeast, no-rise answer to fresh-baked bread when soup's on the stove or brunch guests are due in twenty minutes. The mustard powder and cayenne are the quiet trick here: you won't taste heat or mustard, just cheddar that tastes more like itself. Split one open while it's still steaming and let the butter melt in — that's the whole point of making these at home instead of buying a bakery version.
Why you'll love this recipe
- Ready from mixing bowl to table in 30 minutes
- Crisp cheesy crust, tender fluffy centre every time
- No yeast, no proofing, no waiting around
- Mustard powder trick makes cheddar taste extra cheesy
- Freezes well for cheese scones on demand
Ingredients
Scones
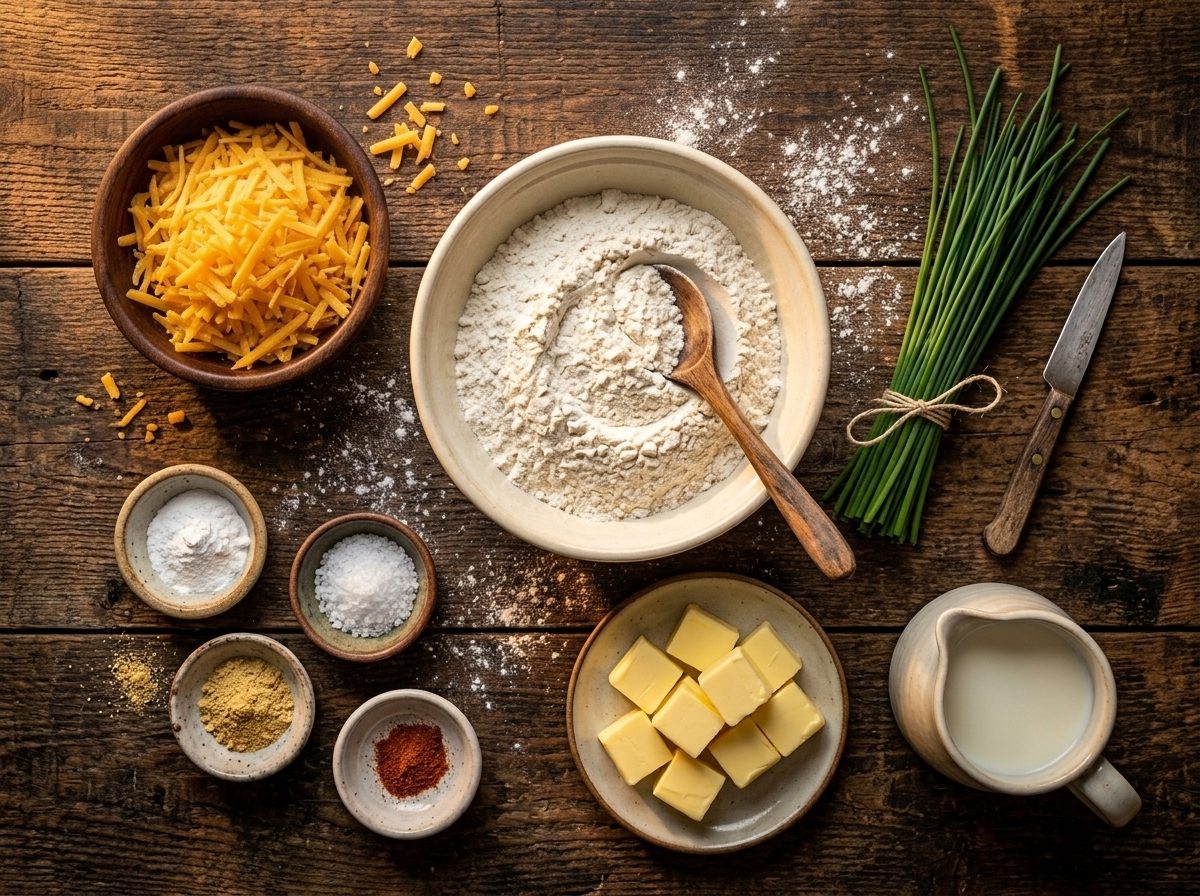
- 2 cups (250g) self-raising flour (or all-purpose + 1 tbsp baking powder)
- 1 tsp baking powder
- 1/2 tsp salt
- 1/4 tsp mustard powder (optional)
- Pinch of cayenne (optional)
- 1/4 cup (55g) cold butter, cubed
- 1 cup (100g) sharp cheddar, grated, plus extra for topping
- 2 tbsp chives, chopped
- 3/4 cup (180ml) milk, plus extra for brushing
Ingredient notes & substitutions
- Self-raising flour:
- This is what gives the scones their lift, so if you're subbing all-purpose, don't skip the extra baking powder called for in the recipe.
- Cold butter, cubed:
- Keep it fridge-cold and cut it into the flour quickly so you get flaky little pockets of fat rather than a greasy dough.
- Sharp cheddar:
- Use the sharpest cheddar you can find and grate it yourself — pre-shredded bags are coated in anti-caking starch that mutes the flavor.
- Chives:
- Fresh is best here for that mild oniony bite; if you only have dried, use about a third as much and add it with the milk to rehydrate.
- Mustard powder and cayenne:
- Both are optional, but they intensify the cheese flavor without making the scones taste spicy or mustardy — well worth keeping in.
- Milk:
- Whole milk gives the richest crumb, but any milk you have on hand will work; save a splash for brushing the tops before baking.
Method
- 1
Preheat the oven to 425°F (220°C) and line a baking sheet with parchment.
- 2
Whisk the flour, baking powder, salt, mustard powder and cayenne in a large bowl, then rub in the cold cubed butter until it looks like coarse crumbs.
- 3
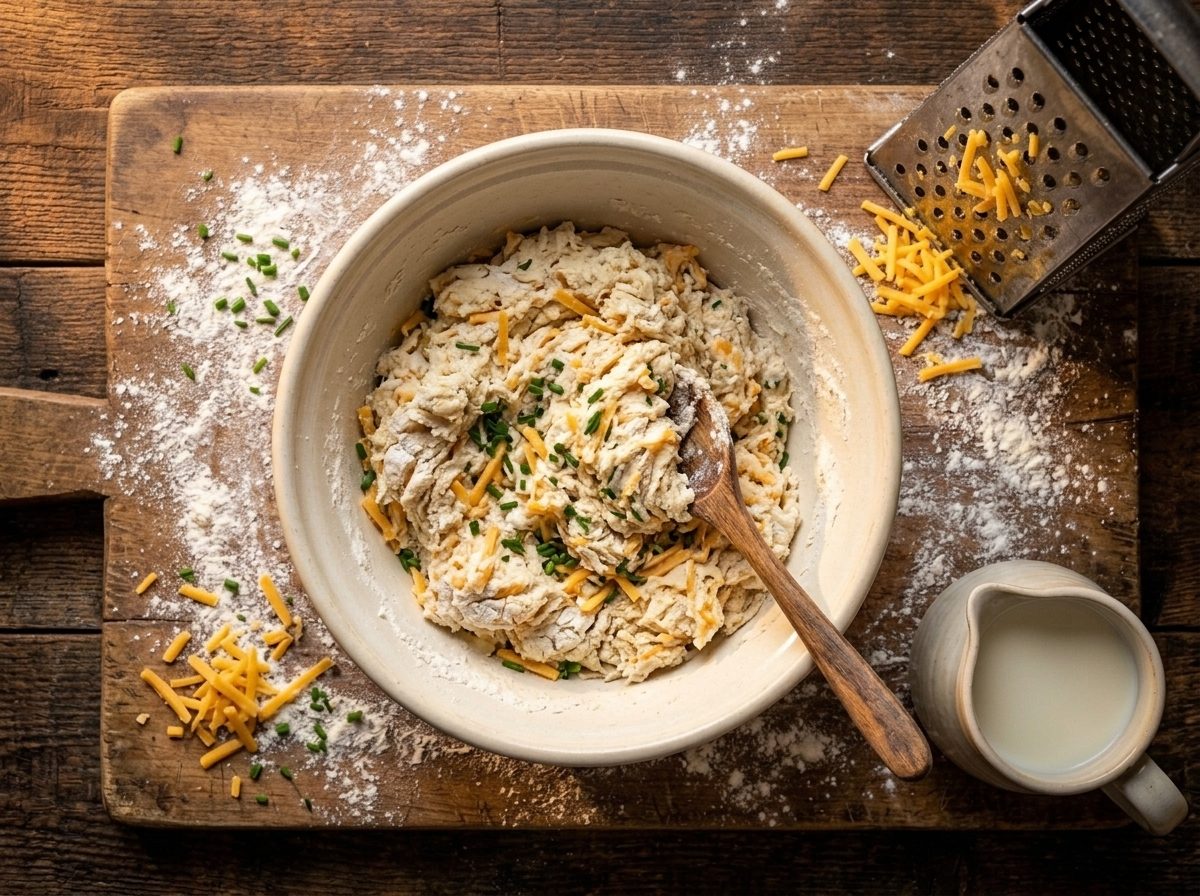
tir in the grated cheddar and chopped chives until evenly distributed.
- 4
Pour in the milk and stir until it just comes together into a soft dough — don't overwork it.
- 5
Turn onto a floured surface, pat gently into a round about 3/4 inch thick, and cut straight down with a 2-inch cutter without twisting.
- 6
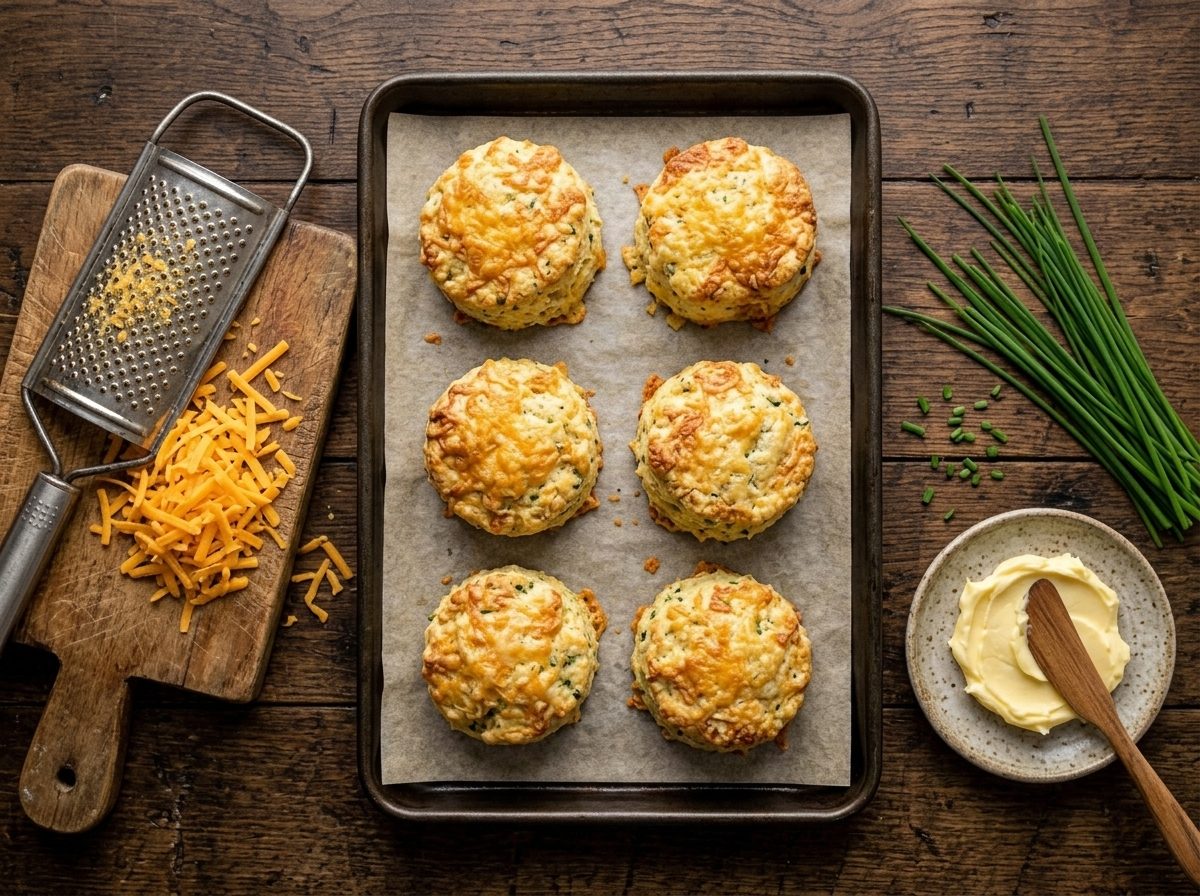
Place the scones close together on the sheet, brush the tops with a little milk and sprinkle with extra grated cheddar.
- 7
Bake 12–15 minutes, until risen and deep golden with a crisp cheesy top.
- 8
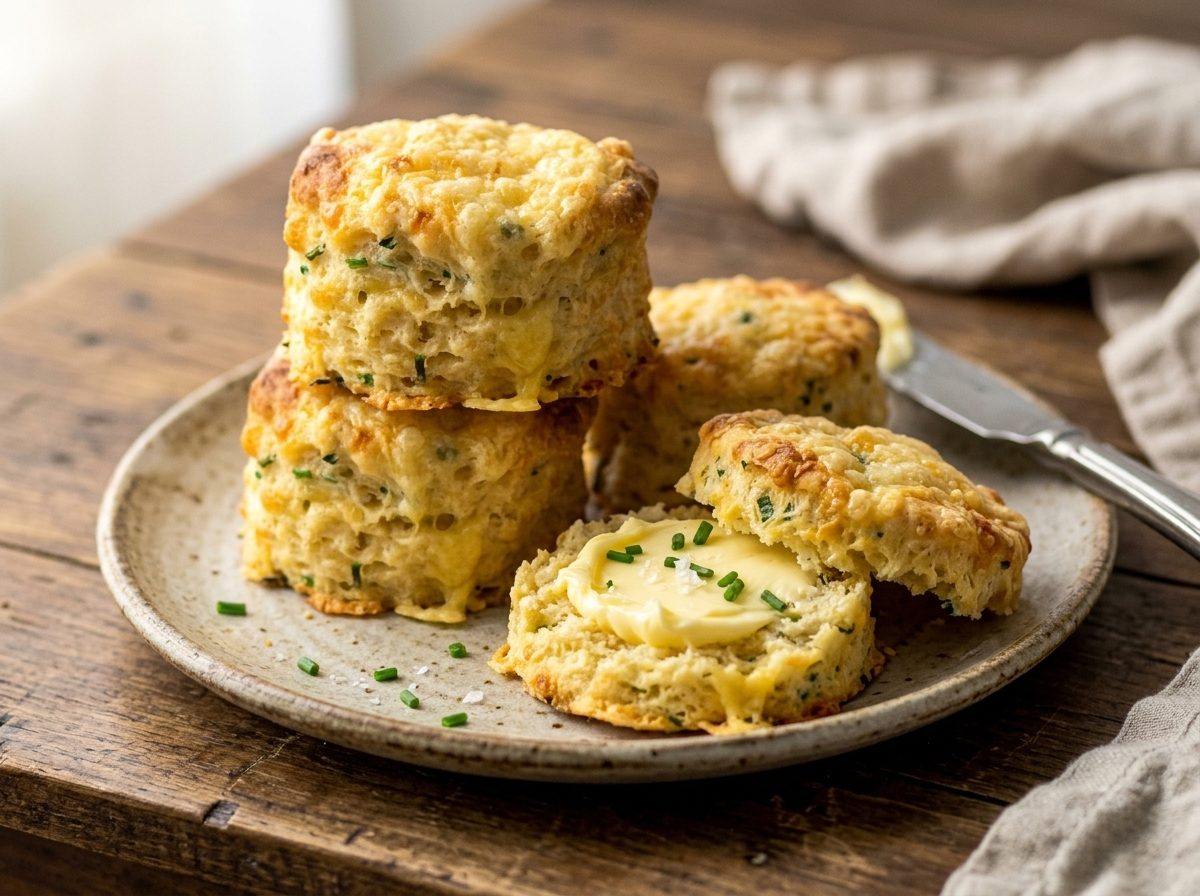
Cool slightly and serve warm, split and spread with butter.
- 9
Bon appetit..
Tips
- Keep the butter and cheese cold and don't overmix — that's what keeps them light, not dense.
- A pinch of mustard powder and cayenne makes the cheese taste even cheesier without adding heat.
- These are best warm the day they're baked; reheat leftovers 5 minutes in a hot oven to re-crisp.
Variations to try
- Swap half the cheddar for grated Gruyère or smoked cheddar for a deeper, nuttier flavor.
- Add 2-3 slices of crumbled cooked bacon or diced ham to the dough for a heartier brunch scone.
- Stir in a pinch more cayenne or a dash of hot sauce to the milk if you actually want some heat.
- Make them gluten-free by using a 1:1 gluten-free self-raising flour blend — the process stays exactly the same.
Storage & make-ahead
These scones are best eaten warm the day they're baked, but leftovers will keep in an airtight container at room temperature for up to 2 days — reheat in a 350°F oven for about 5 minutes to bring back the crisp top. You can also freeze baked, cooled scones in a freezer bag for up to 2 months; reheat straight from frozen in a hot oven for 10-12 minutes. To bake fresh later, you can cut and freeze the unbaked dough rounds on a tray, then bake straight from frozen, adding a couple extra minutes to the bake time.
Frequently asked questions
- Why are my scones dense instead of fluffy?
- This almost always comes down to overworking the dough or letting the butter get warm — mix just until the dough comes together and handle it as little as possible once the milk goes in.
- Can I make the dough ahead of time?
- Yes, you can cut the scones and refrigerate them unbaked for a few hours, or freeze them raw and bake straight from frozen with a few extra minutes in the oven.
- Do I have to twist the cutter when cutting the dough?
- No — press straight down and lift straight up without twisting, since twisting seals the edges and can stop the scones from rising evenly.
- What can I serve these with?
- They're great split and buttered alongside a bowl of soup or chili, or served warm at brunch with eggs; they don't really need jam since the cheese and chives are the whole flavor.
Get the recipes first
New comfort food recipes in your inbox — no spam, unsubscribe any time.